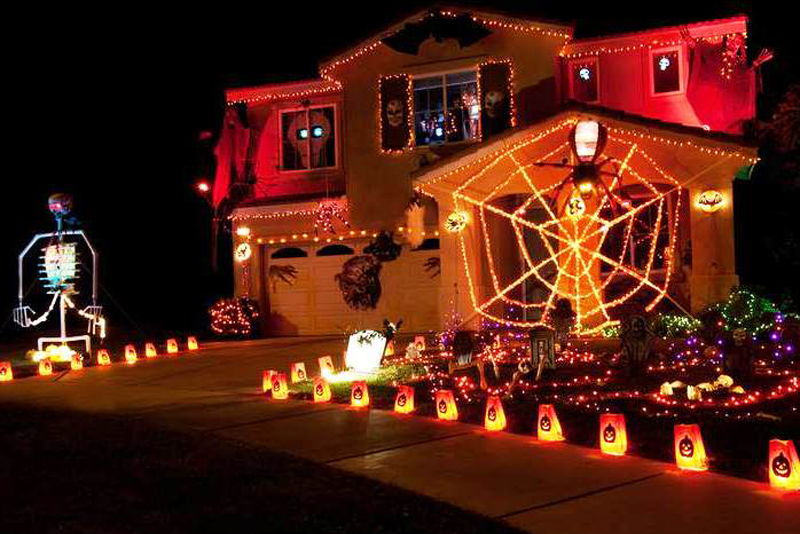
DIY Halloween decorations are most useful when the project is simple enough to finish, inexpensive enough to experiment with, and distinctive enough to look better than another disposable plastic prop. Paper, pumpkins, gauze, jars, cardboard, fabric scraps, and bare branches can all become decorations without requiring a dedicated craft room or a long list of specialty supplies.
The best project depends less on how impressive it looks online and more on where the finished piece will actually go. Paper bats make sense on windows and walls, painted pumpkins work on tables or covered porches, and a lightweight gauze ghost needs enough open space for its shape to be visible.
A few homemade Halloween decorations are usually enough. Halloween is visually strong already, so one group of bats, several painted pumpkins, or a pair of hanging ghosts can establish the theme without turning every surface into another craft display.
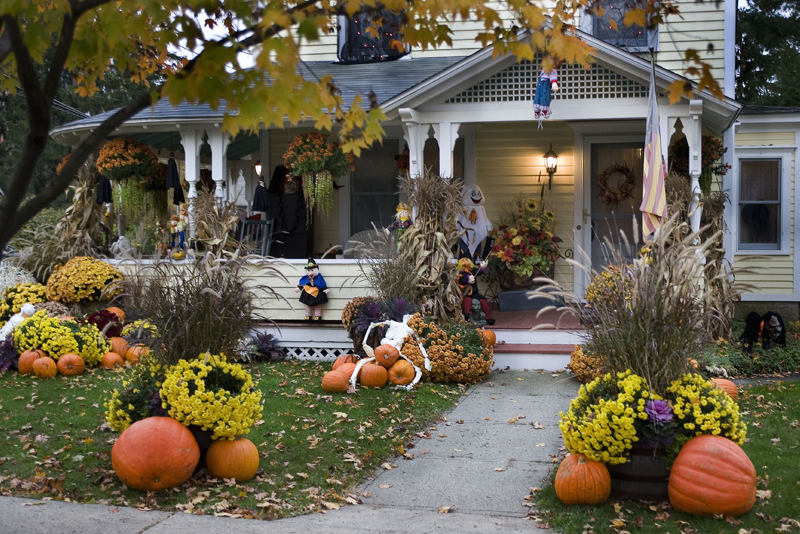
Choose DIY Halloween Projects That Fit Your Time and Supplies
Before cutting, painting, or gluing anything, compare the project with the time and materials you actually have. Some Halloween crafts take twenty minutes once the supplies are ready, while others involve drying time, carving, or tools that make them better suited to a longer afternoon.
Reusable pieces are worth considering as well. A glass jar painted with a simple face may return for several years, while a carved pumpkin is naturally temporary, so it makes sense to spend effort differently on each.
| DIY Project | Main Materials | Effort | Best Use | Reusable? |
|---|---|---|---|---|
| Paper bats | Black paper, scissors, removable adhesive | Easy | Windows, walls, mirrors | Yes |
| Painted pumpkins | Pumpkins, paint or markers | Easy | Tables, steps, covered porch | No |
| Jack-o’-lantern | Pumpkin, stencil, carving tools, LED light | Medium | Entryway, porch, table | No |
| Gauze ghost | Gauze, form, craft stiffener or adhesive | Medium | Hanging indoor decor | Usually |
| Halloween jar | Jar, paint, paper or marker | Easy | Candy, battery lights | Yes |
| Monster door | Paper or fabric, removable adhesive | Medium | Interior or sheltered exterior door | Usually |
Easy Halloween crafts are often a better starting point than a project with several tools, materials, and drying stages. Several simple projects made in the same palette can look more deliberate than one ambitious decoration surrounded by unrelated pieces.
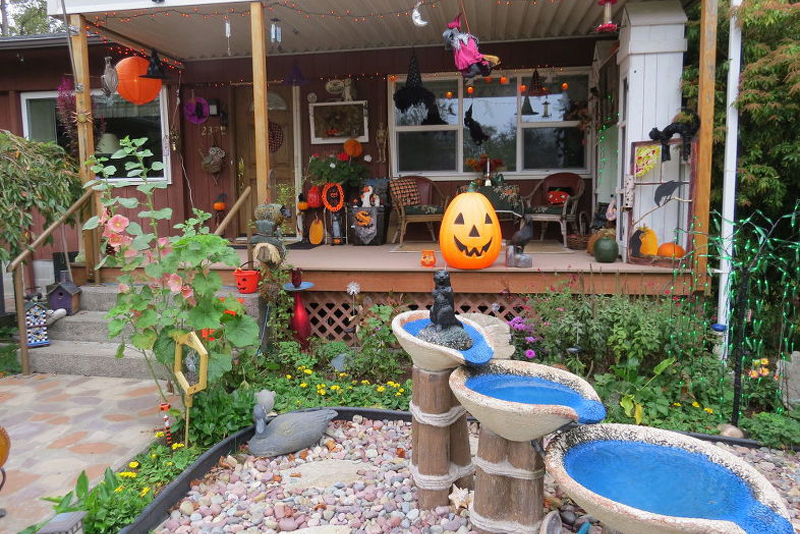
Easy DIY Halloween Decorations With Paper
Paper works especially well for Halloween crafts because it is cheap, easy to cut, and almost flat when stored. Black cardstock is the obvious choice, but cream, gray, orange, or muted brown can produce a softer result if the room already has plenty of dark decoration.
For most projects, scissors, a pencil, and removable adhesive are enough. Heavier cardstock holds its shape better when the pieces will be saved for next year, while ordinary construction paper works well for temporary window or wall displays.
Paper Bats and Halloween Window Silhouettes
Bats are forgiving because the shape stays recognizable even when the cutting is not perfect. Draw or print two or three sizes, cut several of each, and arrange them as a loose group instead of spacing every bat at the same distance.
The same technique works with other shapes:
- cats with arched backs;
- ghosts with simple outlines;
- spiders and webs;
- witch hats or broomsticks;
- bare trees and crescent moons;
- small haunted-house silhouettes.
Lay the pieces on a table or floor before attaching them so the group can be adjusted without repeatedly peeling tape from the wall. Removable adhesive is especially useful on painted surfaces, doors, mirrors, and furniture finishes that you do not want to test with permanent tape.
DIY Halloween window decorations do not need much depth to work after dark. Black silhouettes placed directly on the glass become far more visible from outside once the room behind them is illuminated.
Finished paper bats and silhouettes can move onto windows, shelves, mantels, and tables alongside other indoor Halloween decorations. The making stays simple, while the room itself can be arranged separately.
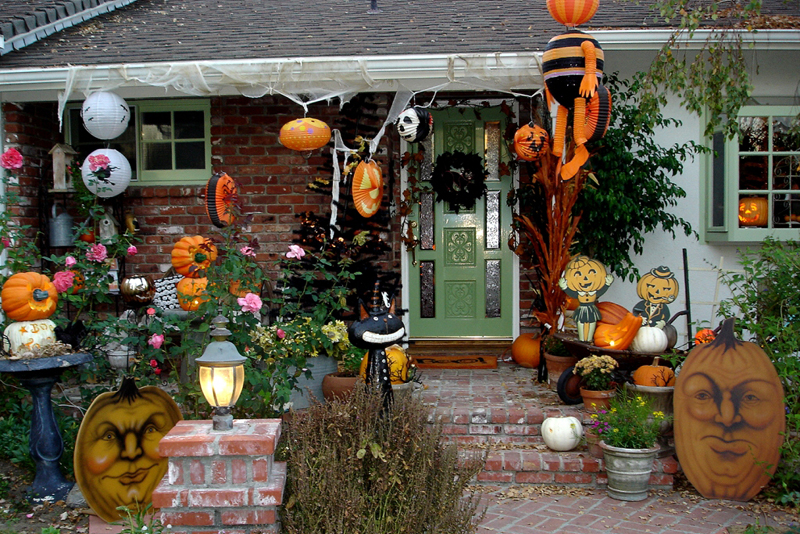
DIY Pumpkin Decorations Without Complicated Carving
Pumpkins do not have to become traditional jack-o’-lanterns. Paint, markers, ribbon, paper shapes, and small accessories can change their appearance without opening the pumpkin at all.
That makes non-carved pumpkins convenient when decorations are being prepared several days before Halloween. Their broad surface also leaves enough room to experiment without the precision required for cutting small details.
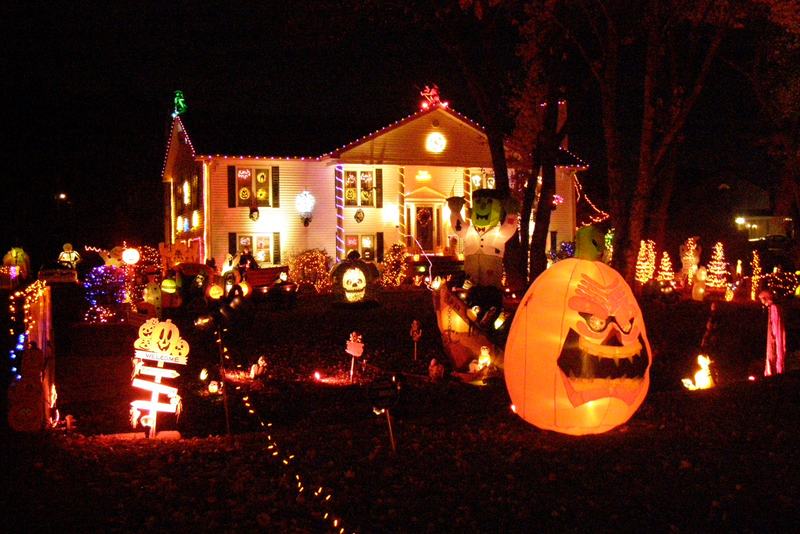
Painted Halloween Pumpkins
Start with a clean, dry pumpkin and choose a design that works with its natural shape. Large areas of color are easier to paint neatly than intricate illustrations, particularly on deeply ribbed varieties.
Halloween pumpkin painting ideas do not have to stay with traditional orange and black. Cream with dark details, muted green with gold, pink with black accents, or a white pumpkin with a simple drawn face can fit very different interiors.
A group usually looks stronger when every pumpkin is not treated as a separate masterpiece. Give one the more detailed design and let the others rely on stripes, dots, faces, or solid colors so the arrangement still feels connected.
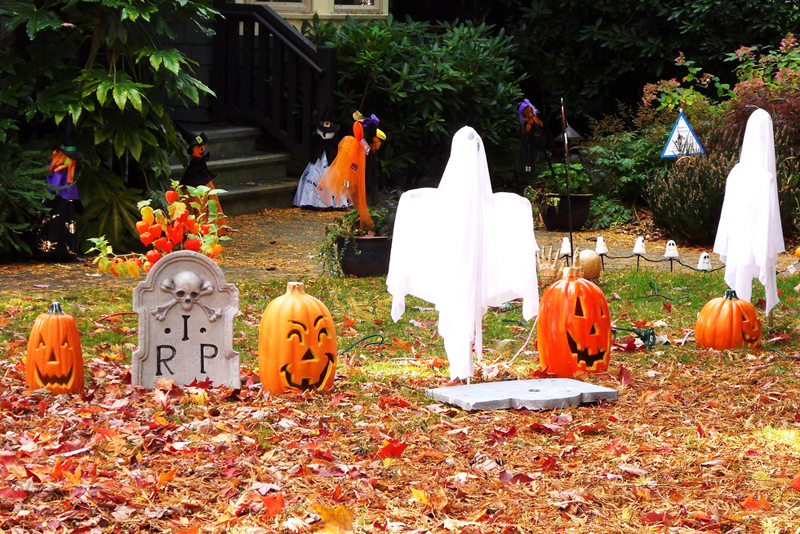
Make a Simple Jack-o’-Lantern
Choose a pumpkin that sits steadily and has enough smooth surface for the face. Drawing the design before cutting makes it easier to keep the eyes, nose, and mouth in proportion.
Remove the top, scoop out the seeds and soft interior, and transfer the design to the shell. Simple shapes tend to carve more cleanly and remain easier to read once the pumpkin is illuminated.
A battery-operated light is a practical alternative to a candle, particularly around paper, fabrics, children, or busy entrances. The U.S. Consumer Product Safety Commission’s Halloween safety guidance recommends battery-operated lights or glow sticks rather than open flames in Halloween decorations.
Pumpkin carving is also an easy project to divide between adults and children. Younger helpers can draw the face, scoop seeds, or choose the lighting while an adult handles the cutting.

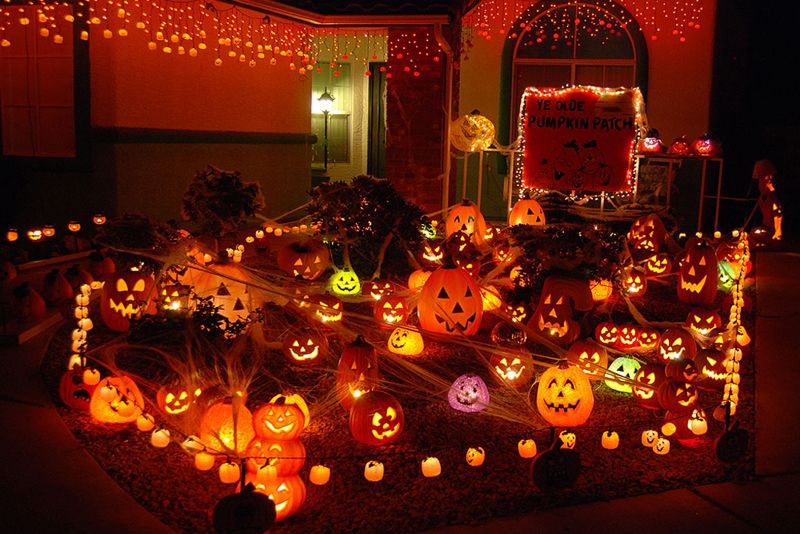
Gauze Ghosts and Hanging Halloween Decorations
A gauze ghost looks more elaborate than the process really is. Its light shape works particularly well near a window, in a hallway, or in a corner where it has enough empty space around it to remain visible.
Build a temporary form from a balloon, bottle, bowl, or another rounded object supported at the height you want. Drape gauze over it, apply craft stiffener or a suitable diluted adhesive, shape the lower edges, and leave everything alone until it is completely dry.
Once the material holds its shape, remove the support and add a simple face with felt, paper, or an appropriate marker. Two dark eyes are often enough, and extra detail can actually make a translucent ghost look busier rather than better.
The same method can produce small tabletop ghosts or larger hanging versions. Keep hanging pieces lightweight and attach them from a stable point so heavier embellishments do not gradually pull the shape apart.
DIY Halloween Jars and Candy Containers
Glass jars, tins, and other containers make useful crafts because they still have a job after they are decorated. They can hold wrapped candy, battery lights, small ornaments, or craft supplies through October and return to ordinary storage afterward.
Paint part of the outside, add paper silhouettes, or draw a simple face with a suitable marker. If a battery light will sit inside, leaving areas of the glass uncovered gives the light somewhere to escape.
Candy containers need even less work. An orange container with a jack-o’-lantern face, a pale jar with ghost features, or a dark jar with bat shapes communicates the theme without requiring detailed painting.
Keep paint, adhesive, and decorative materials away from surfaces that will touch unwrapped food. Wrapped candy makes that easier and also lets the container move between the kitchen, entryway, and party table without much cleanup.
DIY Halloween Door Decorations
A door offers a lot of visual space, which makes it easy to overdecorate. Large shapes usually work better than dozens of small pieces, and they are much quicker to remove once Halloween is over.
Make a Halloween Monster Door
One simple approach is to turn the entire door into a face. Large paper eyes, white cardstock teeth, and strips of dark paper or fabric can create the effect without making permanent changes to the surface.
A rougher version can use torn-looking fabric or paper over a contrasting background. The uneven edges suit Halloween, so there is little benefit in measuring every strip to the same width.
Test adhesive on an inconspicuous area before covering a painted or finished door. A craft that comes off cleanly on November 1 is considerably more successful than one that leaves another home-repair project behind.
A project headed for the porch or yard also has to behave like other outdoor Halloween decorations, which means accounting for nearby plants, lighting, wind, and rain. Paper and lightweight fabric that behave perfectly indoors may need shelter or a different attachment method outside.
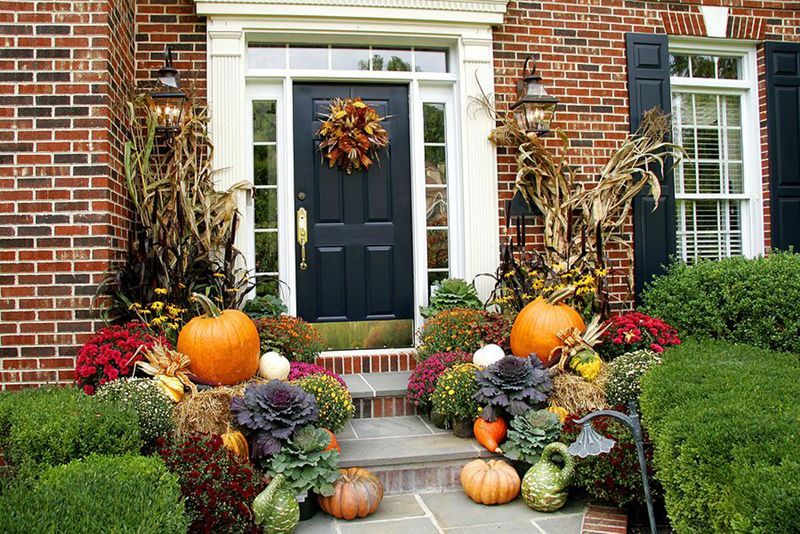
Cheap DIY Halloween Decorations From Things You Already Have
A Halloween project does not become more creative just because every material came from a craft store. Jars, delivery boxes, leftover fabric, old frames, and branches from the garden can often supply most of what a simple decoration needs.
Bare branches can hold paper bats on a table or become part of a taller floor arrangement. White fabric can become ghosts, cardboard can turn into gravestones or silhouettes, and leftover ribbon can change an ordinary jar or wreath form enough to make it seasonal.
Useful things to check before buying more supplies include:
- clean glass jars and tins;
- black, white, orange, or neutral fabric scraps;
- shipping cardboard;
- leftover ribbon and string;
- branches and pinecones;
- paper bags and cardstock;
- unused picture frames;
- small bowls, trays, and vases.
Reusing materials is not a competition to make every project free. It simply avoids buying another package of craft supplies when something already in the house can do the same job.
Cheap DIY Halloween decorations also tend to look more connected when one material repeats. A group of bats and silhouettes cut from the same cardstock will usually feel more intentional than six unrelated crafts chosen only because each one was inexpensive.
DIY Halloween Decorations Kids Can Help With
Halloween crafts work better with children when the result appears reasonably quickly. Painting a pumpkin, arranging paper bats, or decorating a jar offers visible progress without requiring a child to sit through several stages of measuring, drying, and assembly.
Painted pumpkins, paper ghosts, simple silhouettes, jar faces, and paper garlands are good places to share the work. Adults can prepare templates or cut difficult shapes in advance when scissors are still frustrating rather than fun.
Carving knives, hot glue, electrical components, and strong adhesives require a different division of labor. Children can still draw the design, choose colors, arrange pieces, or handle the decorating once the tool-heavy stage is complete.
The American Red Cross’s Halloween safety tips also recommend battery-operated lights or glow sticks instead of candles in jack-o’-lanterns. That substitution is particularly useful when costumes, paper crafts, and younger visitors are likely to be close to the display.
Store and Reuse Halloween Crafts Next Year
Reusable Halloween decorations are only useful if they come back out next October in good condition. Paper pieces should be kept flat rather than folded whenever possible, especially when the same silhouettes will return to windows or walls next year.
Small accessories are easier to find when each project has its own envelope or labeled bag inside the larger seasonal box. Otherwise bat strings, jar decorations, paper eyes, and bits of fabric tend to become one mysterious pile by the following year.
Remove batteries from lighted pieces before long-term storage and empty any containers that held candy or food. Gauze ghosts need enough protection that heavier decorations do not flatten their shape.
A quick photo of the finished setup can be useful too. It does not have to become a blueprint for next Halloween, but it provides a reminder of which pieces worked together and which projects were actually worth saving.
When DIY Halloween Decorations Become More Work Than Fun
The easiest way to make a craft session exhausting is to start more projects than there is time to finish. A few completed decorations are more useful than a table full of half-cut cardboard, unpainted pumpkins, and supplies bought for ideas that never made it into the room.
Problems tend to appear when:
- a project requires several specialty materials for one small result;
- every decoration is too small to have much visual impact;
- permanent adhesive is used on doors, windows, or painted walls;
- open flames are placed inside paper or fabric crafts;
- paper decorations are moved outdoors without weather protection;
- drying or curing time is ignored;
- more crafts are made than the available space can actually use.
Knowing when to stop is part of the project too. Another ribbon, spider, coat of paint, or handful of glitter does not automatically improve a decoration that already reads clearly from across the room.
DIY Halloween decorations work best when both the making and the finished result stay manageable. Paper bats, painted pumpkins, gauze ghosts, jars, and simple door projects can create plenty of character without requiring expensive supplies or several weekends of work.
Once a few projects are finished, put the tools away and see how the decorations behave in the space where they will actually be used. A good homemade piece should contribute something on its own rather than needing another five crafts around it before the idea becomes clear.